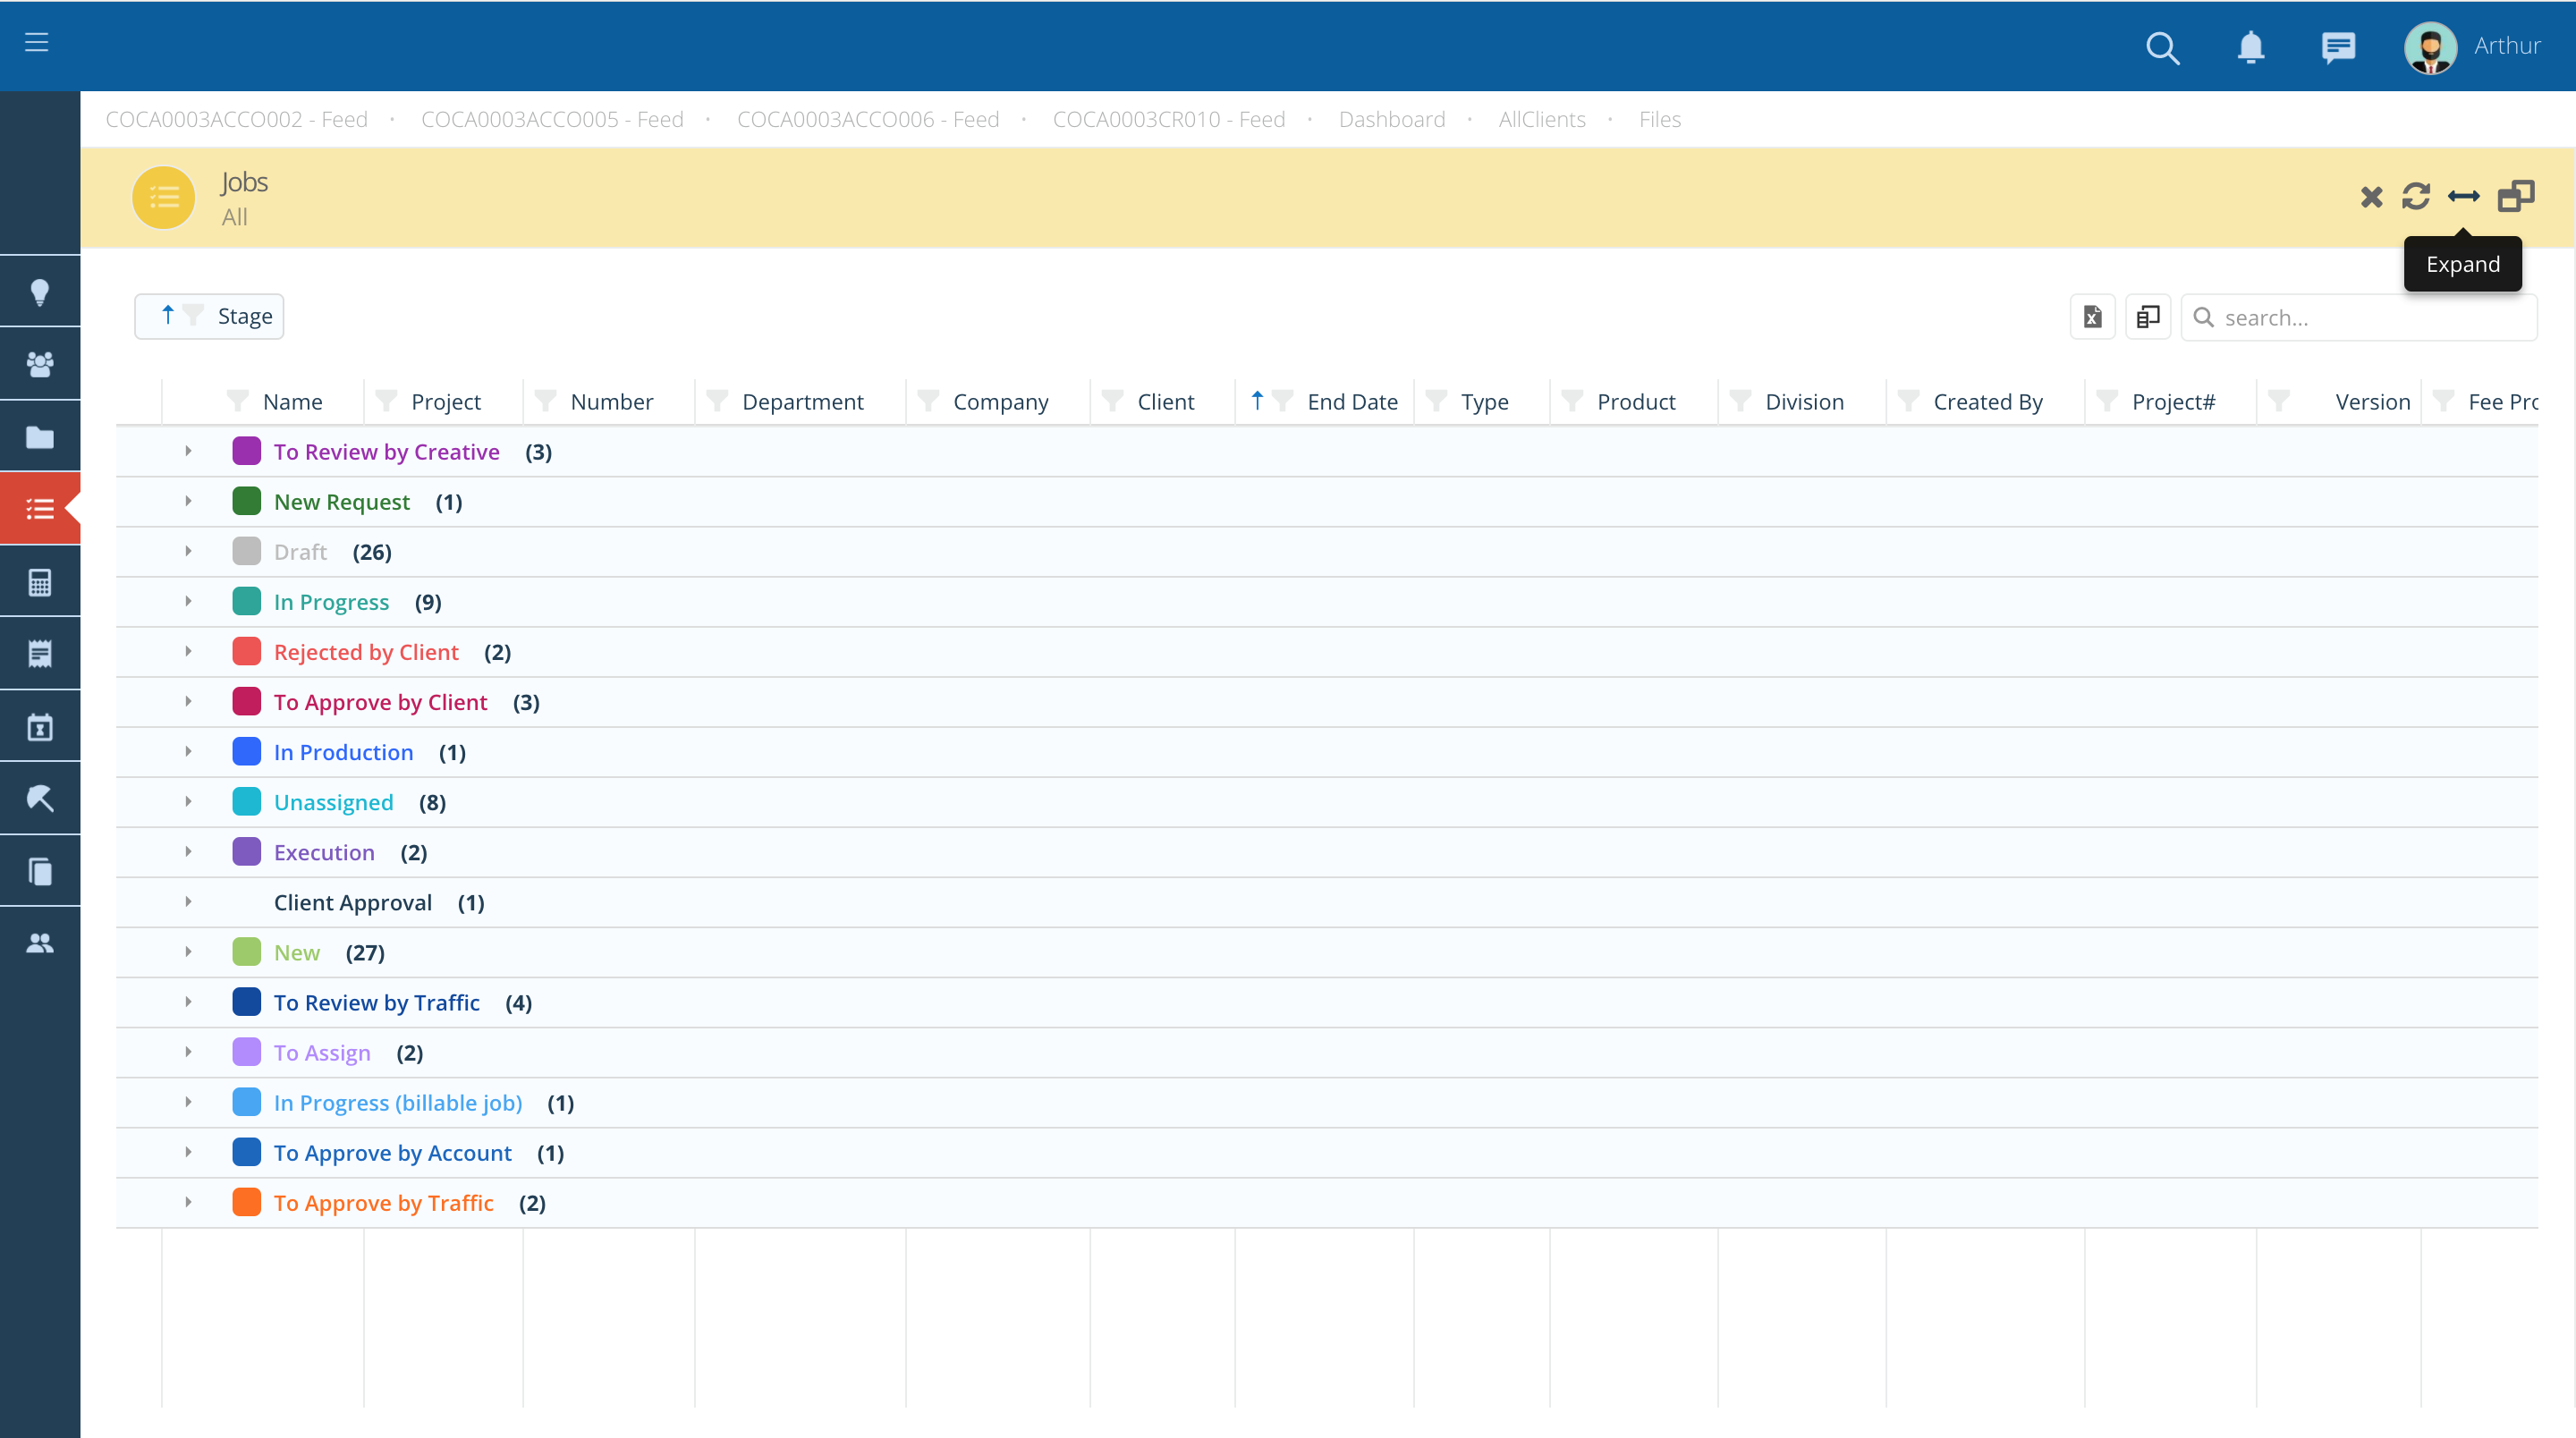
Manage List View
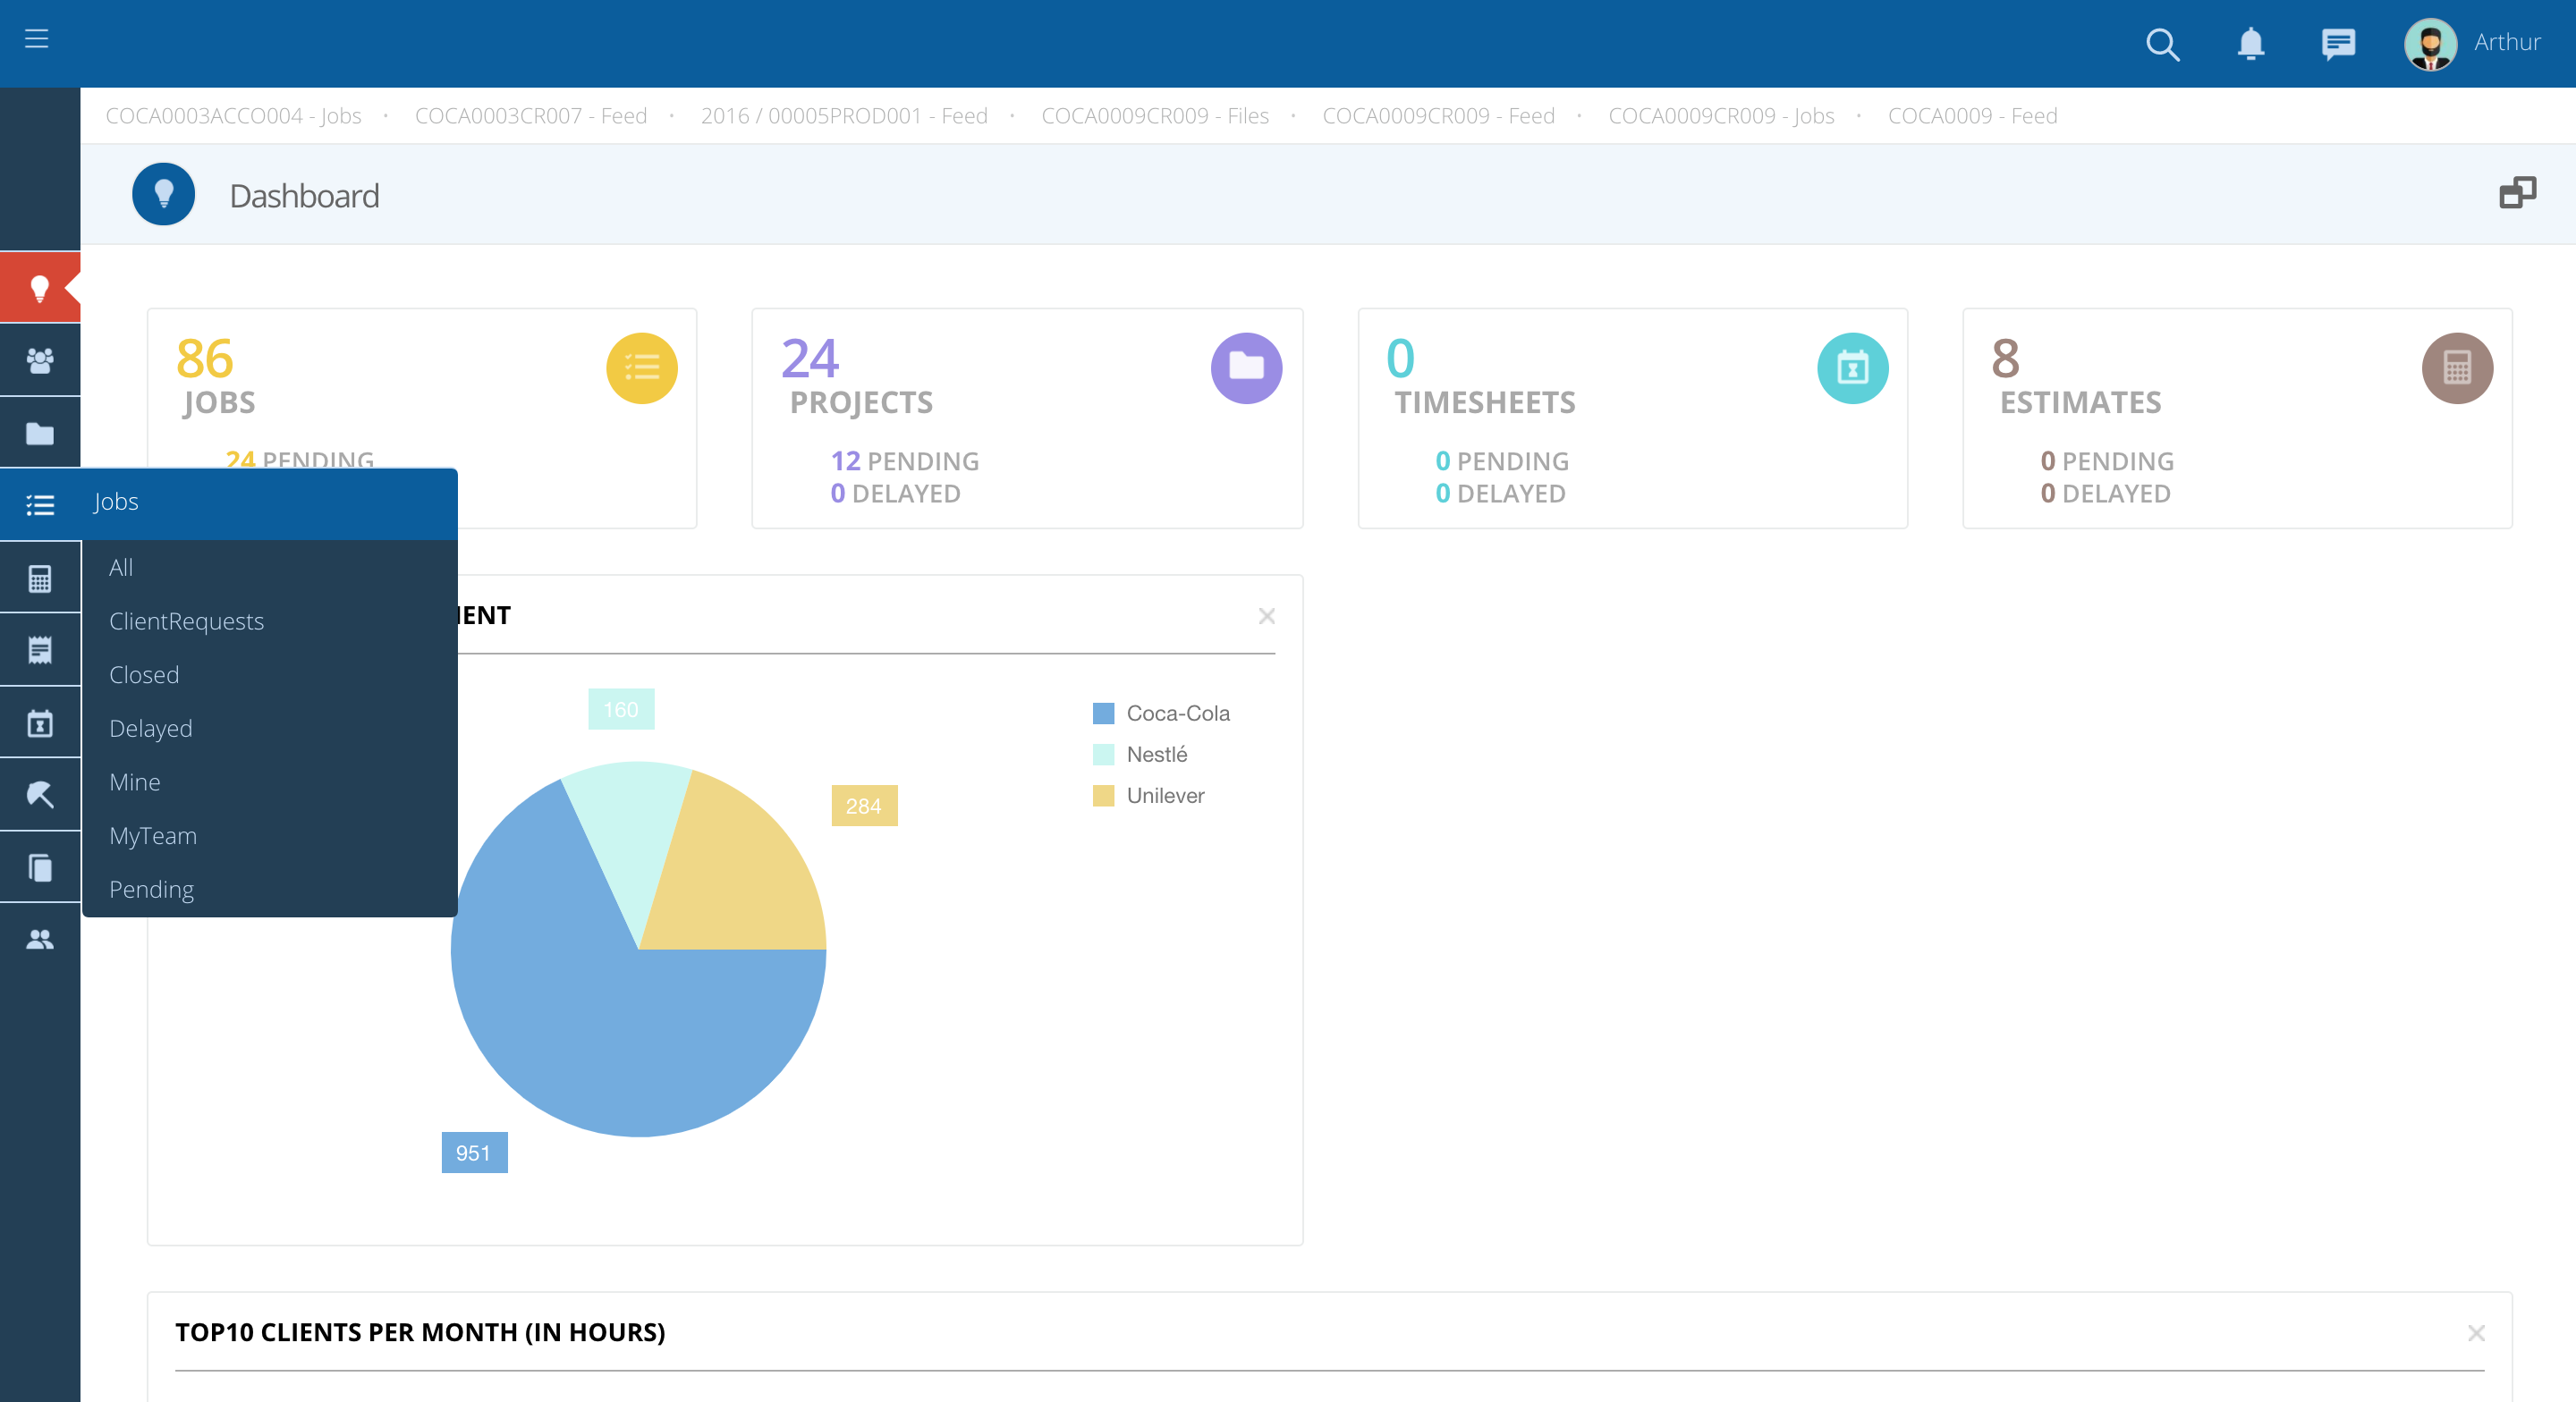
In order for you to find what you are looking for in Skills Workflow, there is a menu on your left organized with different modules.
-
To navigate to each module just pass your mouse on each icon and a legend will appear identifying the respective module.
-
After that you just need to click on the module or select one of the sub-lists available.
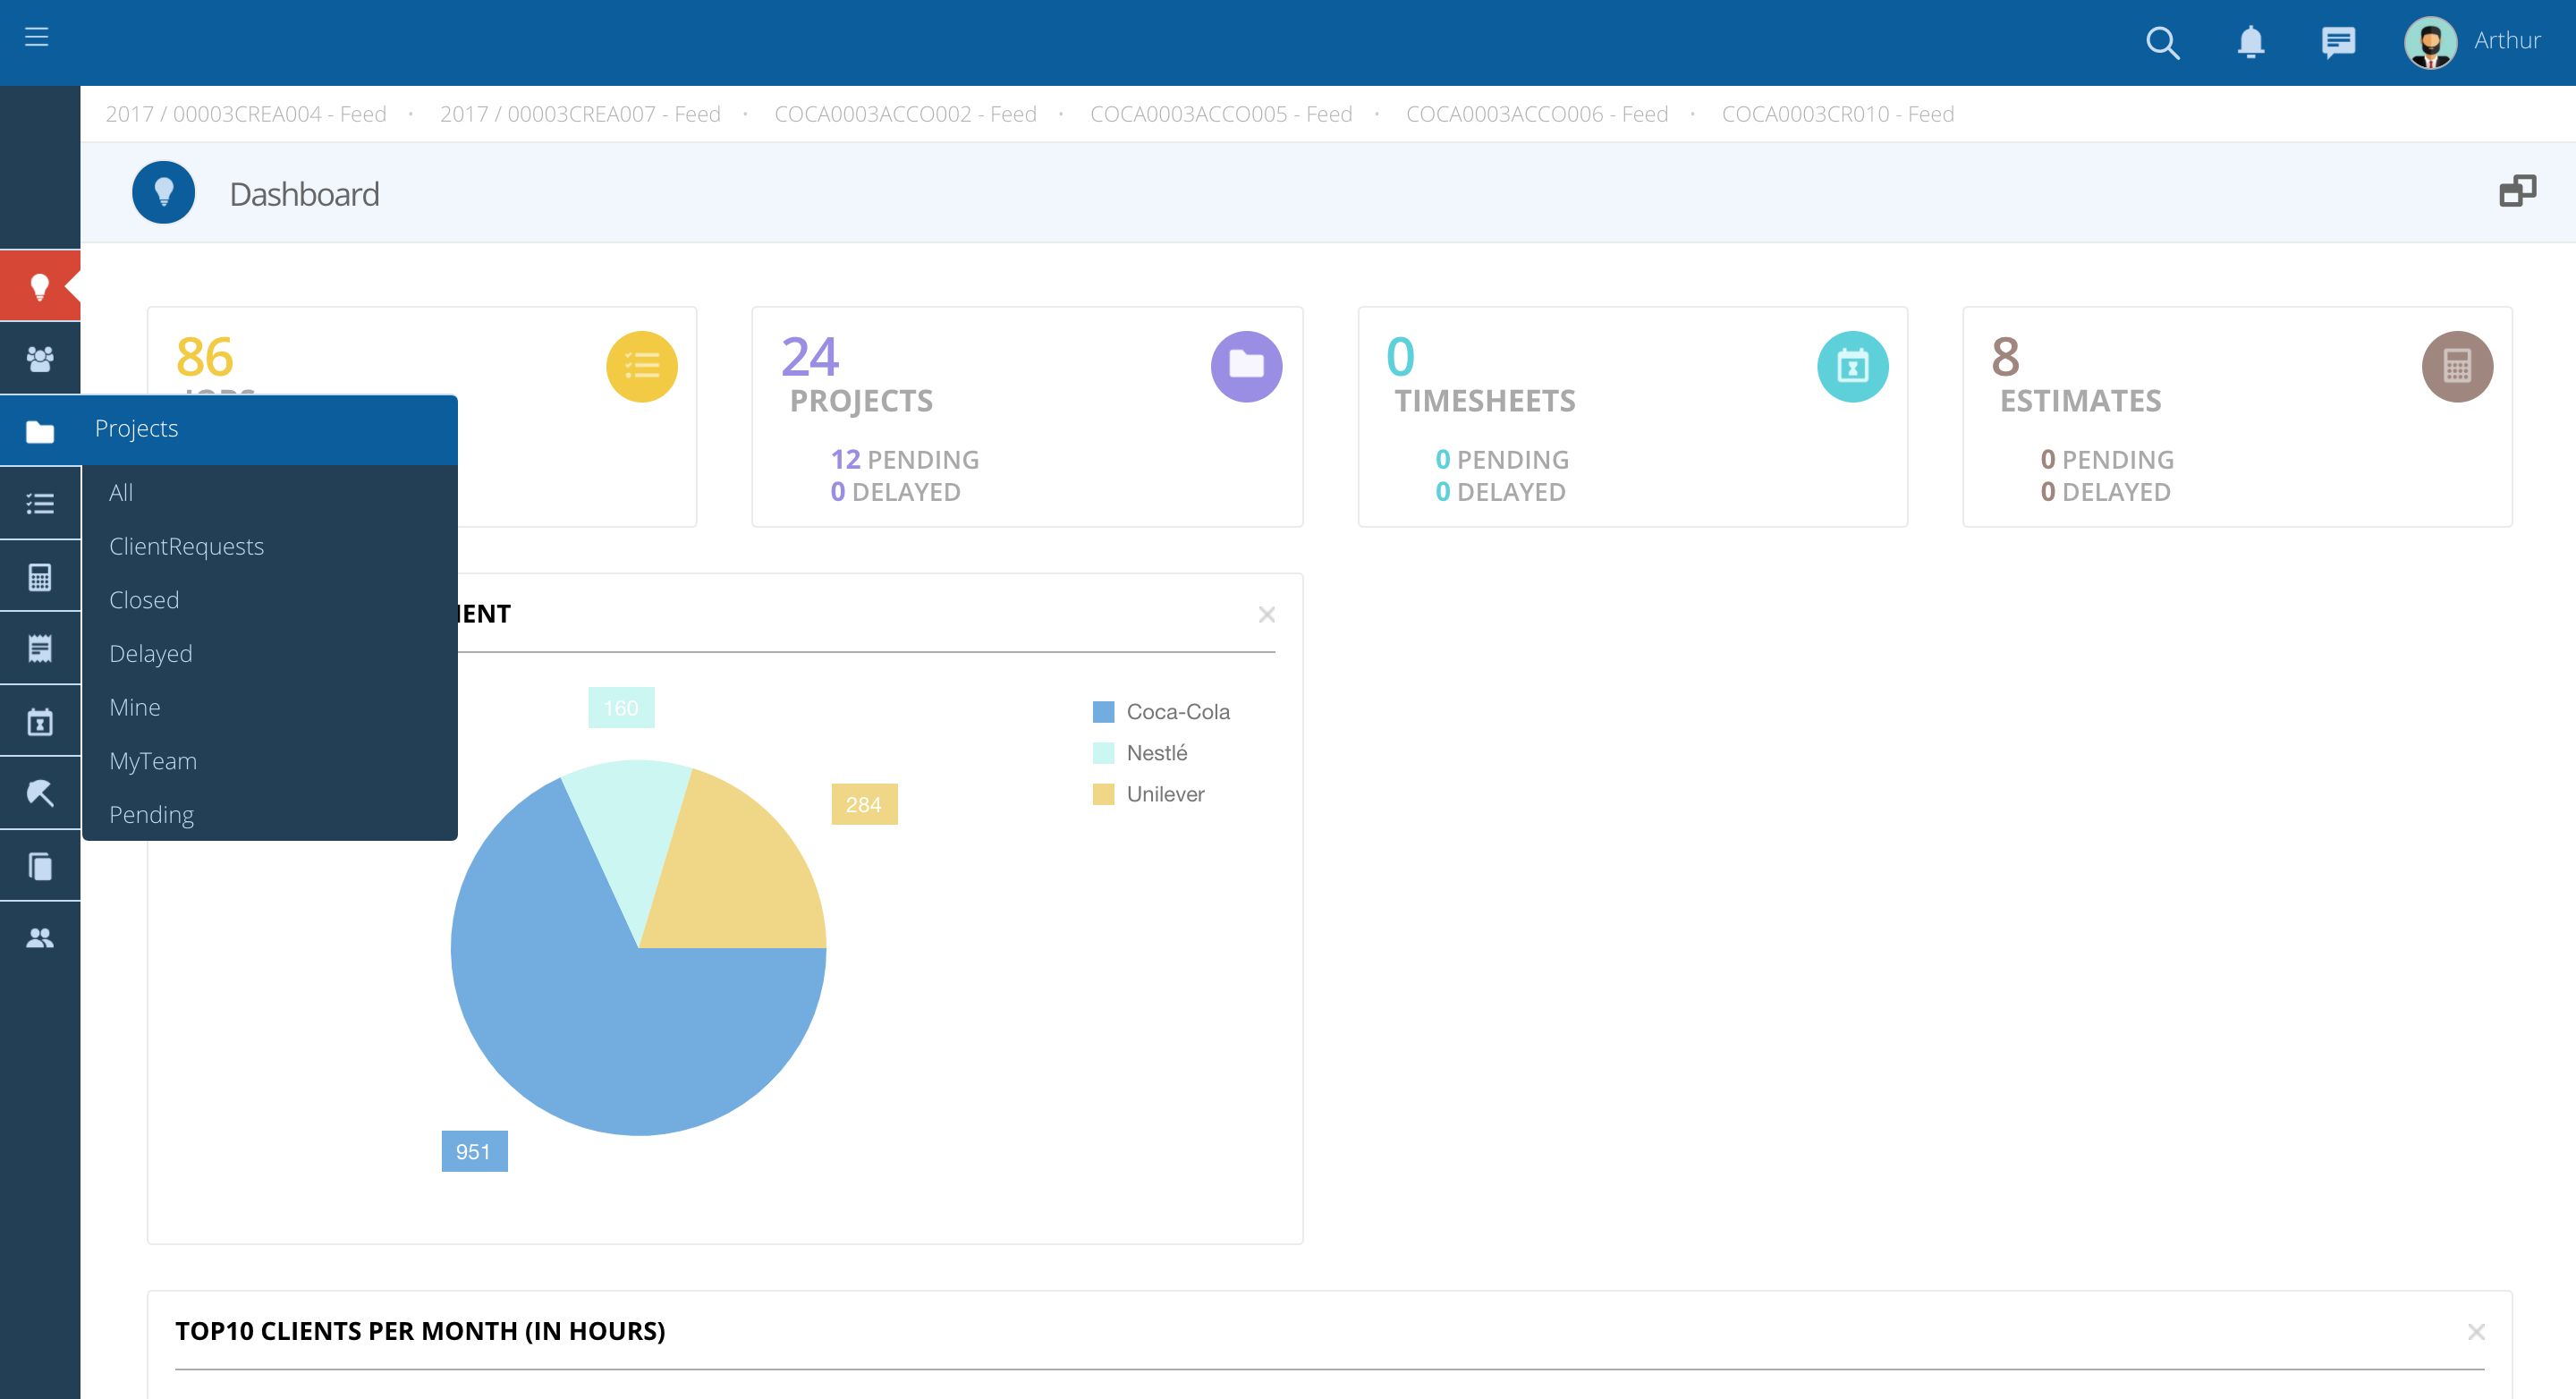
Whenever you are looking for a specific Job or simply want to search for a job who is grouped in one category, you can always use the sub-lists available.
-
In the Jobs module, there are several sub-lists that shows the different jobs organized by status.
-
These sub-lists are available for all users and can be configured according to each agency, meaning you can add new sub-lists to help you organize your jobs view.
By default you have the following sub-lists:
-
All - In the sub-list “All” you can see all the jobs that you are involved with.
-
ClientRequests - In the sub-list "ClientRequests" you will see all the jobs requested by your clients.
-
Closed - All the jobs that are closed are automatically moved to the sub-list "Closed".
-
Delayed - In the sub-list “Delayed”, you may see all the jobs that are delayed. This means that the agreed date has passed and the Job is still not finished/closed.
-
Mine - All jobs that are created by you will automatically appear on the sub-list "Mine".
-
MyTeam - If you just want to check your Team's jobs, you will need to access the sub-list "MyTeam".
-
Pending - In the sub-list “Pending”, you can see the jobs that need your attention and action. For instance, assigning a user or sending for approval.
Once you select the sub-list, you can always customize your own list view in order to organize the fields according to the relevance.
You need to expand your view in order to be able to see all the available fields. For that you just need to click on the symbol that says "Expand".
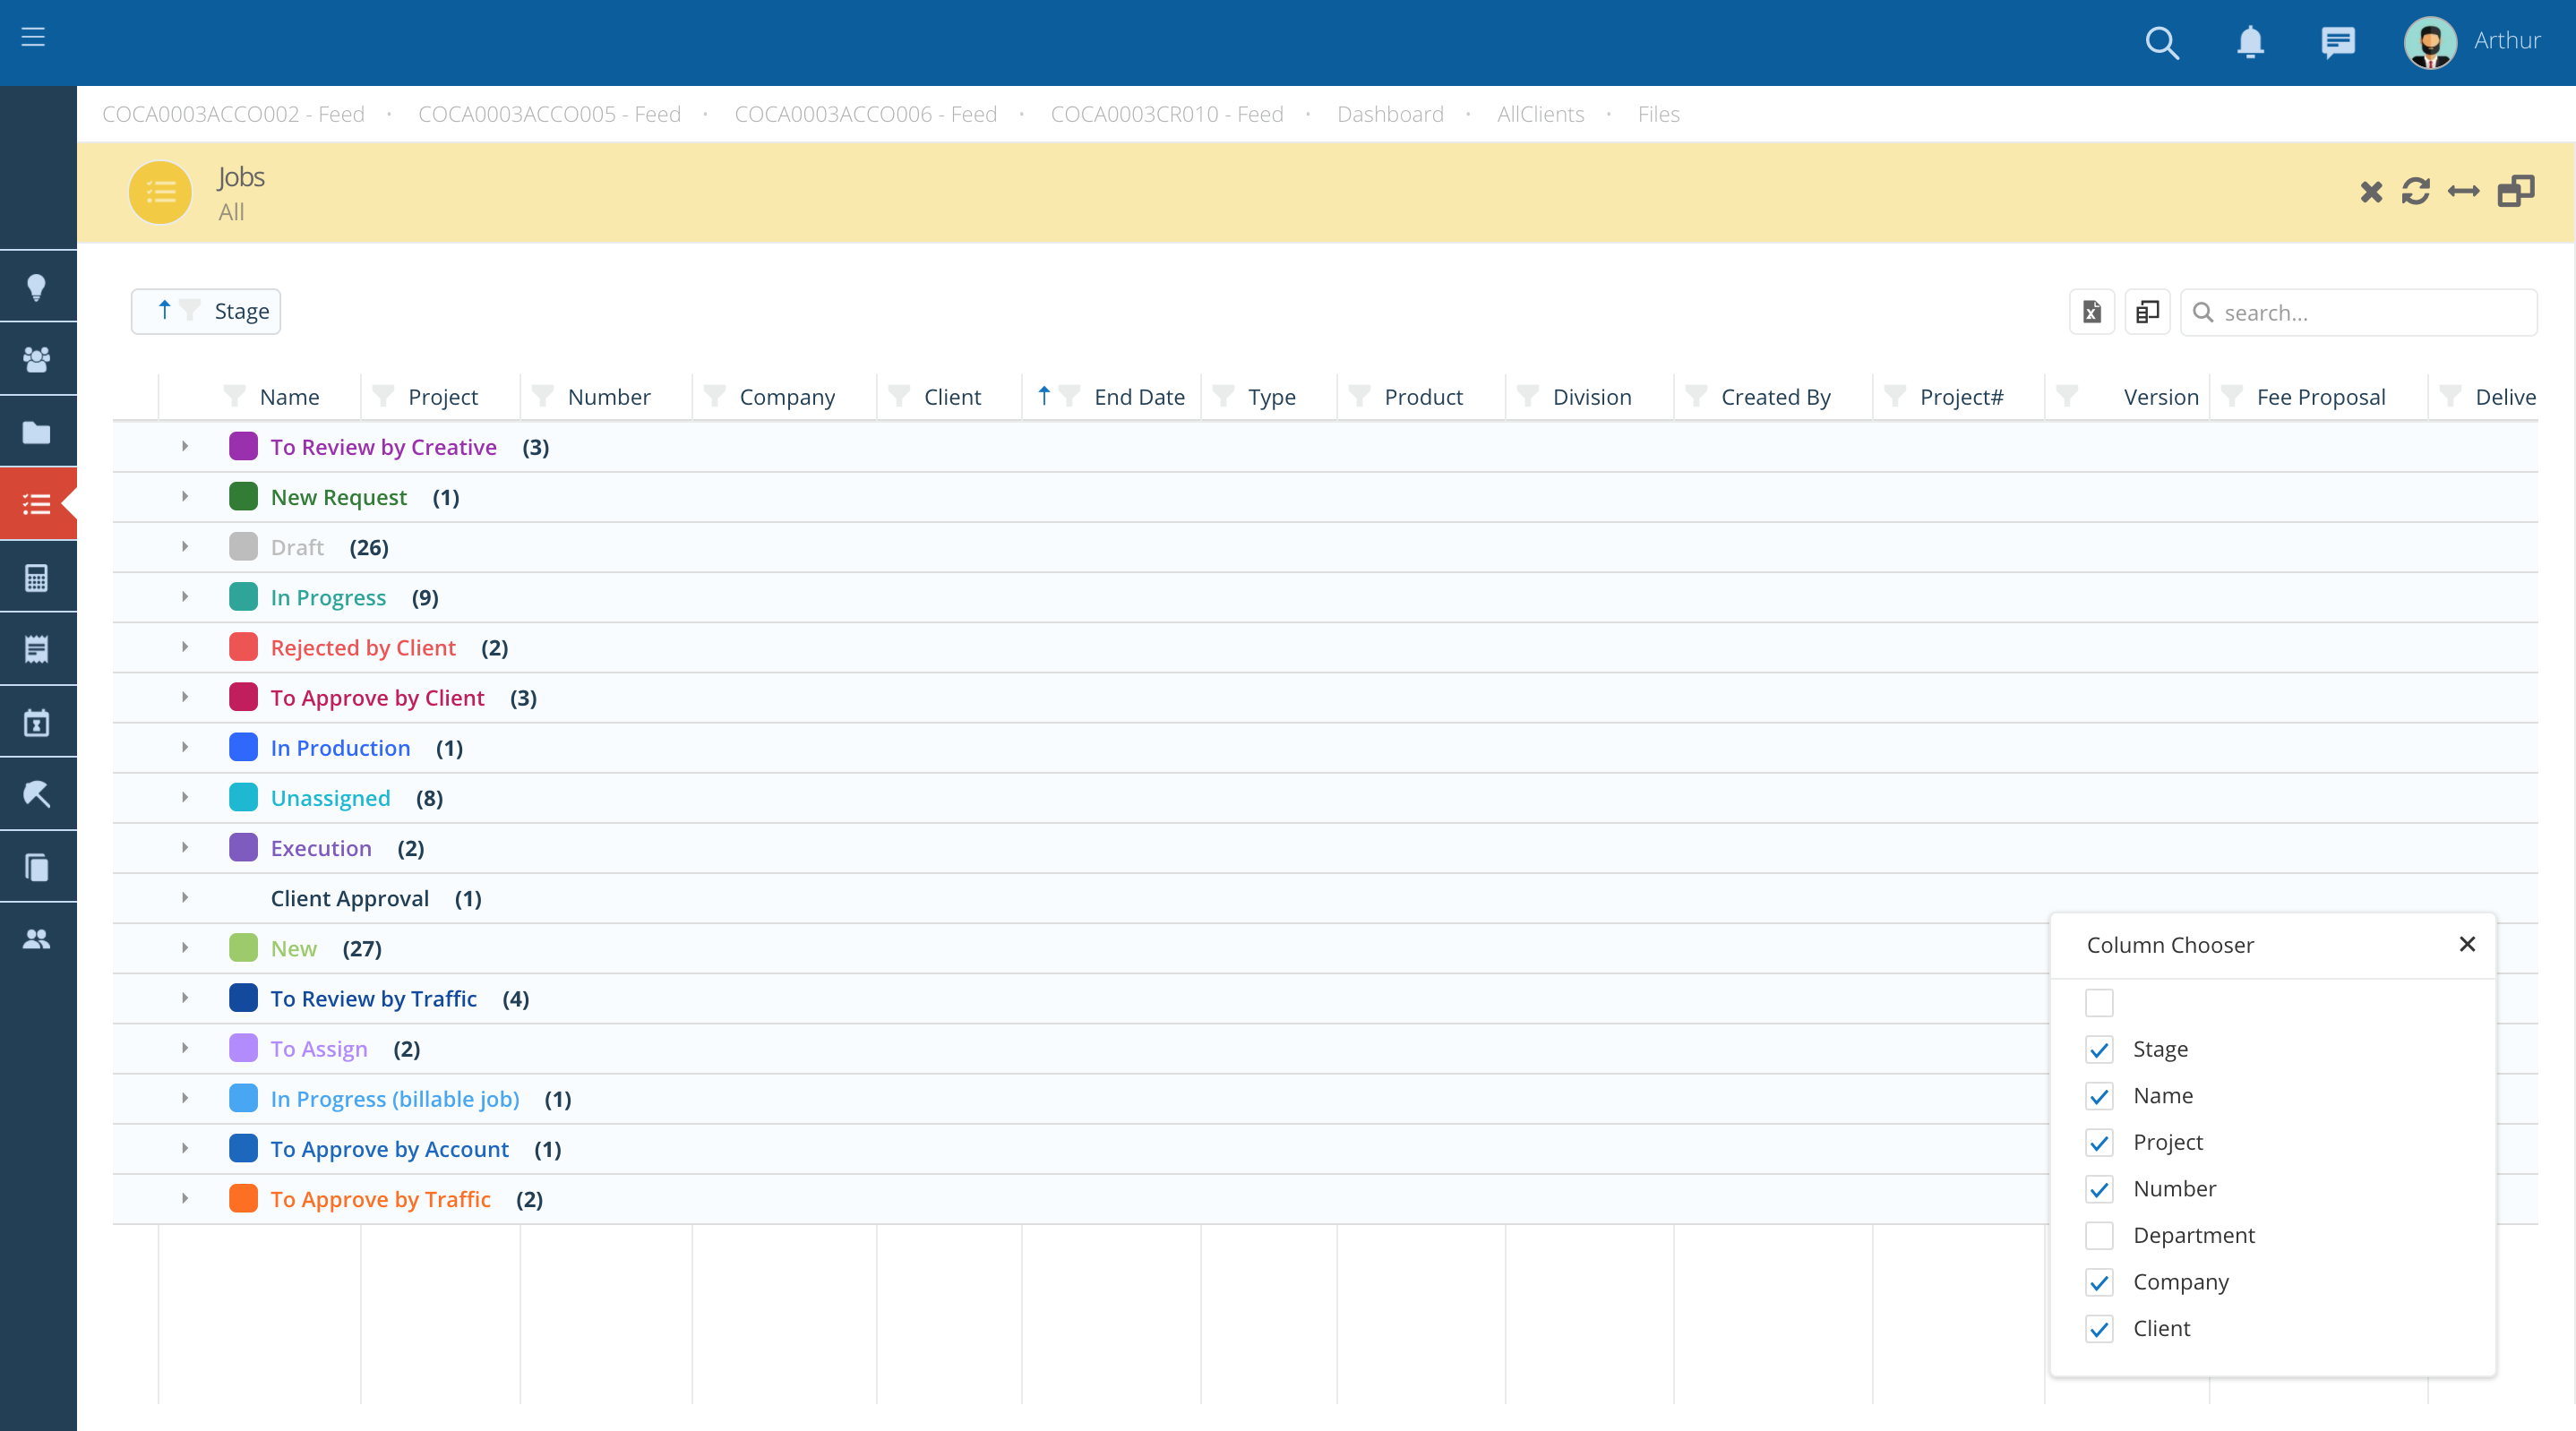
To customize your own view, you can drag and drop fields and organize the information according to your needs.
-
You can also remove or add more fields through the option "Column Chooser". For that you just need to click on the option
 .
. -
A box list will pop-up, with all the available fields. To add or remove you just need to check or uncheck accordingly.
You can also filter the available fields in order to see a specific stage, client, company, etc.
-
For that you just need to click on the
 symbol.
 -
After that, you need to select the information you want to check and click ok.
